 ListingForge
How to use ListingForge
Go from a Shopify product to paste-ready Amazon A+ Content.
Install ListingForge
Install it from the Shopify App Store. After installing you land on the generator page inside your Shopify admin.
Check your credits
Each generation uses one credit. Your first 3 credits are free. After that, open Buy Credits and choose a pack of 1, 3 or 5. Payment is handled by Shopify. Credits never expire and stack if you buy more.
Choose a product
On the generator page, click Choose product and pick the product you want A+ Content for. You can search your whole catalog. ListingForge reads the title, description, options and images automatically, so there is nothing to copy and paste.
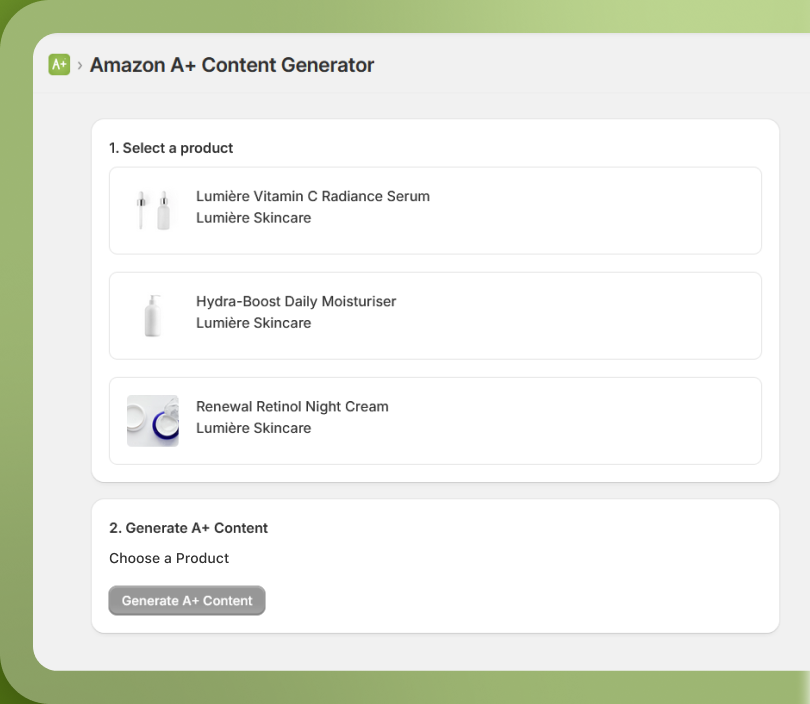
Generate A+ Content
Click Generate A+ Content. A complete set is written in about 30 to 45 seconds. One credit is used per generation, and if a generation fails the credit is returned automatically. Every result is saved under History.
Review your content
Your content includes up to five A+ modules. Each one has its copy fields with a character count against Amazon's limit, image direction, and a policy check that flags wording Amazon usually rejects. Read it through and edit anything you like.
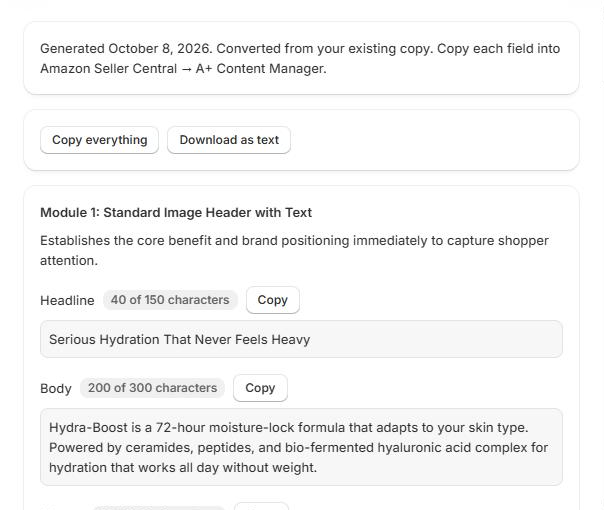
Copy into Amazon Seller Central
Log in to Seller Central and open your product listing. Go to A+ Content Manager and create a module for each section. Paste each field into its matching box, and use the image direction notes to choose and position your images. You can copy a single field, a whole module, or everything, or download the plan as a text file.
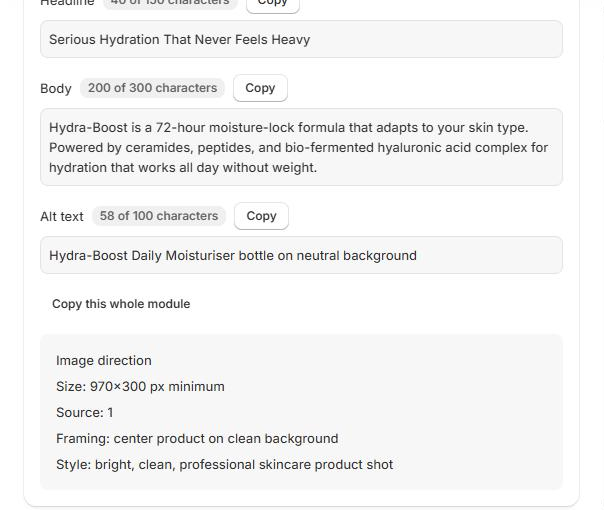
Submit to Amazon
When every module is filled in, submit your A+ Content for Amazon's review. Amazon typically approves submissions within seven business days. Address any policy flags from the check before submitting to reduce the chance of rejection.
Stuck on a step? Email support@hwpoalways.com and we will answer within one business day.